Why Subfloor Preparation Is the Most Important Step in Commercial Flooring
Key Takeaways
- Over 80 per cent of commercial flooring failures trace back to inadequate subfloor preparation.
- Moisture testing is essential for every commercial project in Queensland. Concrete slabs in subtropical climates hold more moisture than most people expect.
- Grinding, levelling, and priming cost $10 to $30 per square metre but prevent failures that cost $50 to $150 per square metre to fix.
- If an installer quotes your job without inspecting the subfloor, find a different installer.
Introduction
Here is a truth that the flooring industry does not advertise loudly enough: the most expensive flooring product in the world will fail if the subfloor underneath it is not properly prepared.
Tiles crack. Vinyl lifts. Timber cups and buckles. Epoxy delaminates. Carpet tile telegraphs every imperfection. The product gets the blame, but the subfloor is almost always the actual cause.
Floor preparation is not glamorous work. You do not see it once the flooring is installed. And because it sits beneath the surface, it is the easiest thing to cut corners on when budgets are tight.
This article explains what proper subfloor preparation involves, why it matters, and what happens when it is skipped.
What Can Go Wrong
Understanding the consequences helps explain why preparation matters.
Moisture Damage
Concrete slabs contain moisture. In Southeast Queensland’s subtropical climate, moisture levels in concrete are often higher than in cooler, drier parts of the country. If that moisture migrates upward through the slab and reaches the flooring product, several things happen:
- Vinyl and LVP: Adhesive failure, lifting, bubbling, and edge curling
- Timber and engineered timber: Cupping, crowning, warping, and buckling
- Carpet tile: Mould growth beneath tiles, adhesive failure, odour
- Epoxy: Delamination (the resin separates from the concrete in sheets)
Moisture damage typically appears weeks or months after installation. By that point, the flooring has been paid for, the fit-out is complete, and the business is operating. Fixing it means pulling up the floor, treating the slab, and reinstalling. The cost is usually two to three times the original installation.
Surface Irregularities
Concrete slabs are never perfectly flat. They have high spots, low spots, ridges, and undulations. Existing buildings may also have adhesive residue, paint, or other contaminants from previous flooring.
If these are not addressed:
- Vinyl and LVP: Telegraphing (imperfections show through the surface), rocking, and uneven wear
- Tiles: Lippage (uneven tile edges) and cracked tiles from unsupported areas
- Carpet tile: Visible ridges and bumps, premature wear at high points
- Epoxy: Uneven thickness and aesthetic inconsistency
Contamination
Oil, grease, curing compounds, paint, and old adhesive residue all interfere with the bond between the subfloor and the new flooring product. If the new product cannot adhere properly, it fails. Simple as that.
The Professional Preparation Process
Proper subfloor preparation follows a systematic sequence. Each step builds on the one before it.
Step 1: Assessment and Testing
Before any physical work begins, the subfloor needs to be assessed. This includes:
Visual inspection: Looking for cracks, spalling, contamination, and evidence of previous moisture problems.
Straightedge testing: A three-metre straightedge placed across the floor reveals the flatness profile. Most commercial flooring products require a tolerance of 3mm in 3 metres. Some products (large-format tiles, thin vinyl) require 2mm in 3 metres.
Moisture testing: This is the critical test for Queensland installations. Two methods are commonly used:
- Relative humidity (RH) testing: Probes are inserted into the slab at 40 per cent of its depth and left to equilibrate for 72 hours. Most flooring manufacturers specify a maximum RH of 75 to 85 per cent, depending on the product.
- Calcium chloride testing: A moisture vapour emission rate (MVER) test that measures moisture escaping from the surface. The maximum acceptable rate is typically 25g per 1,000 square centimetres over 24 hours.
For new concrete slabs, moisture testing should not be done until the slab has been drying for at least 28 days per 25mm of thickness. A 100mm slab needs a minimum of 112 days of drying before testing.
Step 2: Mechanical Grinding
Diamond grinding machines remove the top layer of the concrete, along with any contaminants, coatings, and adhesive residue. This process also opens the pores of the concrete, allowing primers and adhesives to penetrate and bond effectively.
Grinding profiles vary:
- Light grind: Removes surface contaminants and creates a key for adhesive
- Medium grind: Removes thin coatings, adhesives, and surface irregularities
- Heavy grind: Removes thick coatings, levels significant high spots, and prepares severely contaminated surfaces
The grinding process creates dust. Professional installers use grinders with integrated vacuum systems and air filtration to manage this. In occupied buildings, dust containment is critical.
Step 3: Crack Repair
Cracks in the slab need to be assessed and repaired before any flooring is installed.
- Hairline cracks (under 1mm): Usually cosmetic. Filled with flexible resin to prevent telegraphing.
- Structural cracks (over 1mm): May indicate ongoing movement. These need to be monitored and may require structural repair before flooring is installed.
- Expansion joints: Must be honoured (continued through the flooring) rather than covered. Covering an expansion joint leads to cracking and failure.
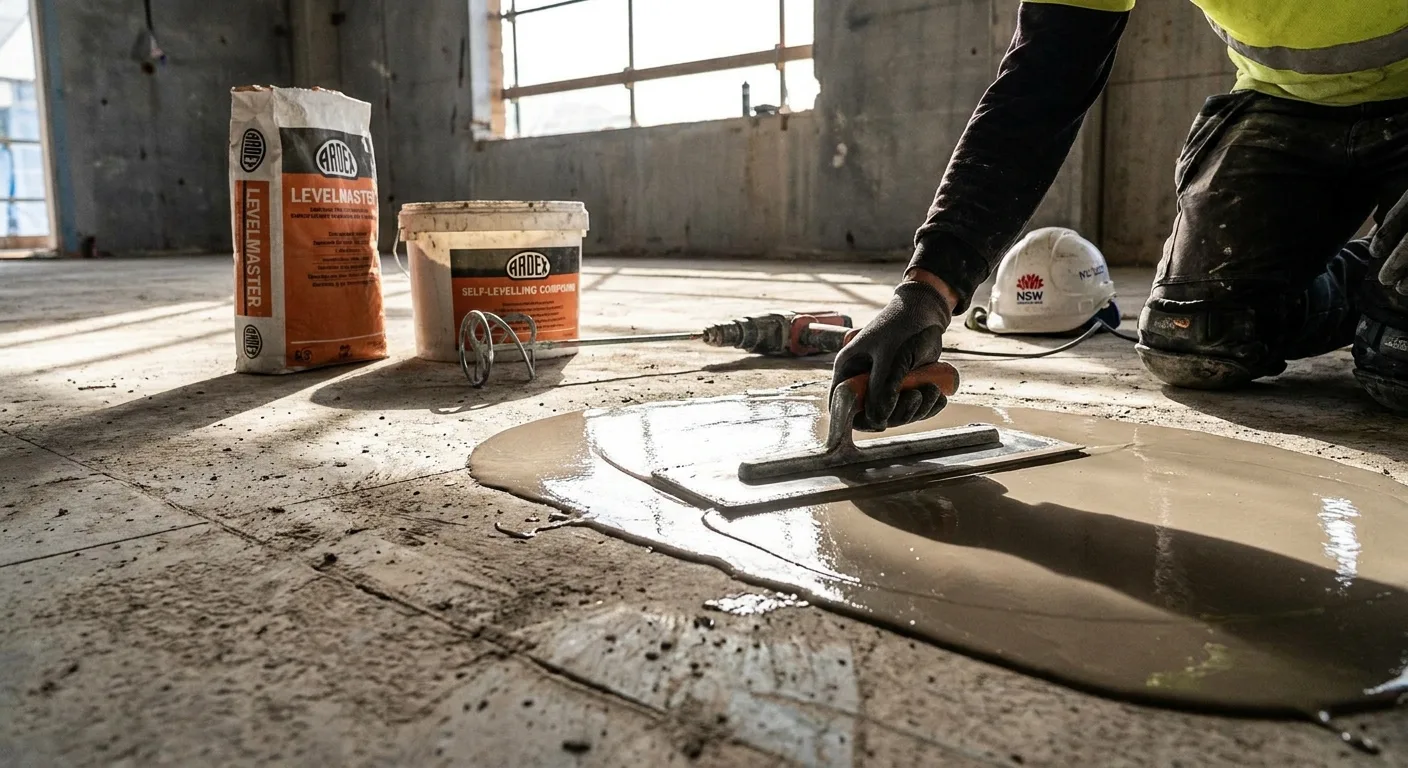
Step 4: Levelling
After grinding, the floor is checked again with a straightedge. Low areas are filled with a cementitious levelling compound. High spots that grinding did not fully address are ground further.
For large areas with significant level variations, a self-levelling compound is pumped across the floor. This liquid settles to a flat, smooth surface and sets within hours. It is one of the most effective ways to achieve a consistent substrate over a large area.
Cost of levelling: $8 to $25 per square metre, depending on the severity of the level variation and the depth of compound required.
Step 5: Moisture Mitigation (If Needed)
If moisture testing reveals levels above the flooring manufacturer’s specifications, a moisture mitigation system is required. Options include:
- Epoxy moisture barriers: A two-part epoxy coating applied to the slab surface that blocks moisture vapour transmission. Effective up to about 95 per cent RH.
- Sheet membranes: Self-adhesive or loose-laid membranes that create a physical barrier between the slab and the flooring.
- Liquid-applied membranes: Sprayed or rolled onto the slab, these create a flexible waterproof layer.
Moisture mitigation adds $15 to $40 per square metre. It is an unwelcome cost, but the alternative — flooring failure — costs far more.
Step 6: Priming
The final preparation step is applying a primer coat that seals the concrete, controls porosity, and provides a consistent bonding surface for the adhesive or flooring product.
Different primers are used depending on the subfloor condition, the flooring product, and the adhesive system. Using the wrong primer (or skipping it entirely) can cause adhesive failure.
Cost of Proper Preparation
| Preparation Step | Cost per sqm | When Needed |
|---|---|---|
| Assessment and moisture testing | $3 - $8 | Every project |
| Light grinding | $5 - $10 | Most projects |
| Medium to heavy grinding | $10 - $20 | Older buildings, coated surfaces |
| Crack repair | $3 - $8 | As required |
| Self-levelling compound | $8 - $25 | As required |
| Moisture mitigation | $15 - $40 | When testing exceeds limits |
| Priming | $3 - $5 | Every project |
Typical total for a standard commercial project: $15 to $30 per square metre.
For a project with significant moisture or levelling issues: $30 to $60 per square metre.
These costs are in addition to the flooring product and installation. They should be itemised separately in any quote so you can see exactly what you are paying for.
The Cost of Skipping Preparation
A commercial flooring failure typically costs:
- Product removal: $10 to $30 per sqm
- Subfloor remediation: $20 to $50 per sqm
- New product supply and installation: Full cost again
- Business disruption: Lost revenue, temporary relocation, customer impact
For a 500-square-metre commercial space, a flooring failure can easily cost $50,000 to $100,000 when you include materials, labour, and business disruption. The preparation work that would have prevented it might have cost $10,000 to $15,000.
The mathematics are unambiguous.
How to Protect Yourself
Insist on a site inspection
Any reputable commercial flooring installer will inspect the subfloor before quoting. If you receive a quote based on a phone call and a square metre measurement, that installer is guessing. They will either overprice to cover unknowns or underprice and cut corners during preparation.
Suelo Flooring conducts thorough site inspections for every commercial fit-out project, whether it is a new build on the Northern Gold Coast or a renovation in Ipswich.
Ask for moisture test results
Before any flooring is installed, ask your installer to provide written moisture test results and confirm they are within the flooring manufacturer’s specifications. This documentation protects you if a warranty claim is needed later.
Get preparation itemised in the quote
A quote that lumps everything into a single per-square-metre rate hides the preparation component. Ask for a breakdown so you can see what is being done and what is being skipped.
Check the warranty conditions
Most flooring manufacturer warranties require professional installation on a subfloor prepared to their specifications. If the preparation does not meet those specifications, the warranty is void — regardless of whether the product itself is at fault.
Conclusion
Subfloor preparation is the least visible part of a commercial flooring project and the most critical. It determines whether your floor lasts five years or twenty. Whether it looks flawless or develops problems within months. Whether your warranty holds or is void.
Every dollar spent on proper preparation is a dollar that prevents far greater costs down the track.
Need a subfloor assessment for your commercial project? Suelo Flooring provides professional floor preparation and moisture testing across Southeast Queensland. Contact us for a site inspection.
Related Articles:
Suelo Flooring
Suelo Flooring delivers specialist commercial flooring across Southeast Queensland. An experienced, dedicated team manages every project from consultation to handover.
About Suelo Flooring